Earthquake Analysis on GCP
In this project, our aim will be to create a VM instance to process real earthquake data and make the analysis publicly available.
Creating a VM on Compute Engine
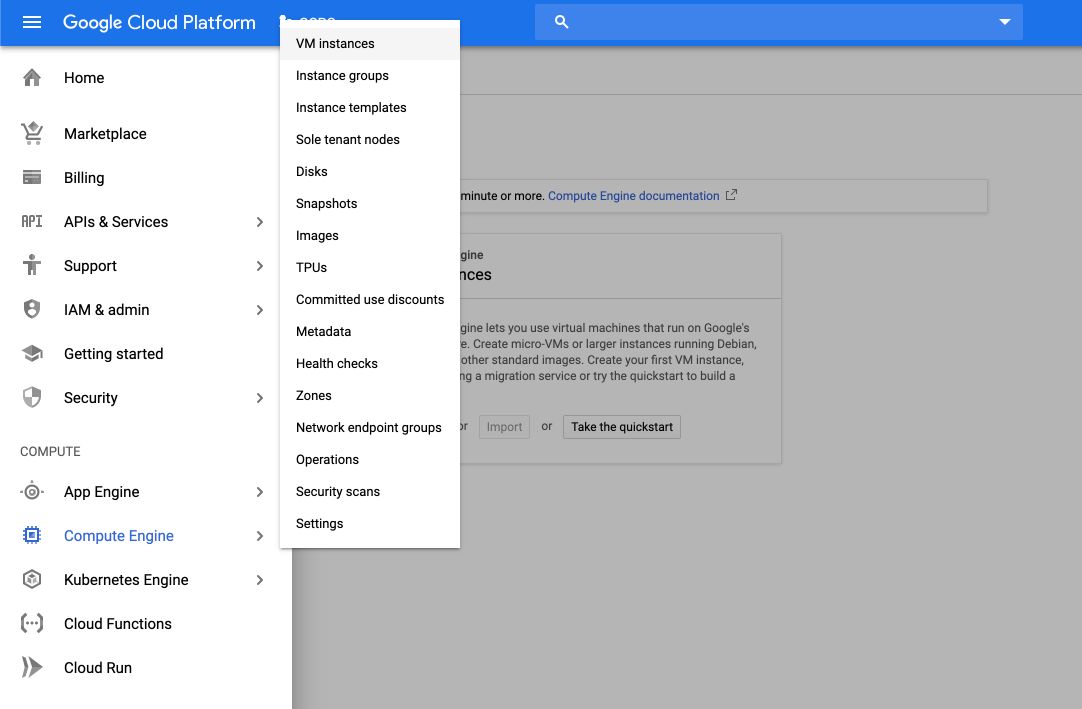
First, go to : https://cloud.google.com. Open the console, go to the side menu, and click on: Compute Engine > VM Instances.
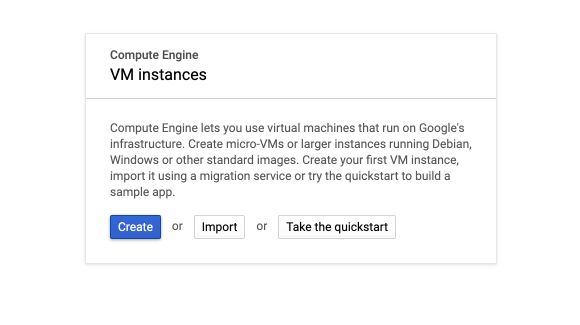
The initialization of Compute Engine might take several minutes. Alright, Compute Engine is now up and running. Click on “Create” to create new VM instances :
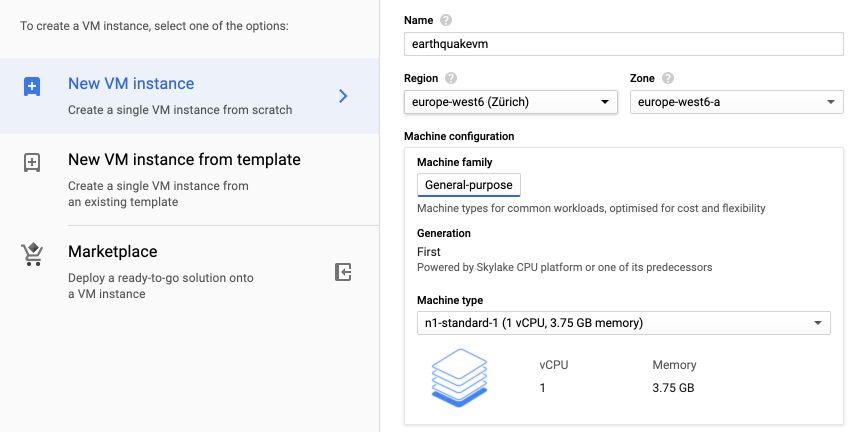
We will analyze Earth Quake data for what comes next, so we name the VM accordingly. Set your region (whatever your requirements are). We will stick with the standard machine (1 CPU, 3.75GB memory), but of course, all settings can be modified.
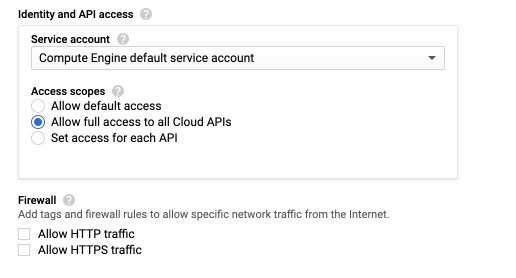
To be able to write to cloud storage from the VM we will need to allow full access to all Cloud APIs. We will access the VM through SSH, and not HTTP or HTTPS.
Click on “Create”, wait a few minutes, and the VM should be up and running :)
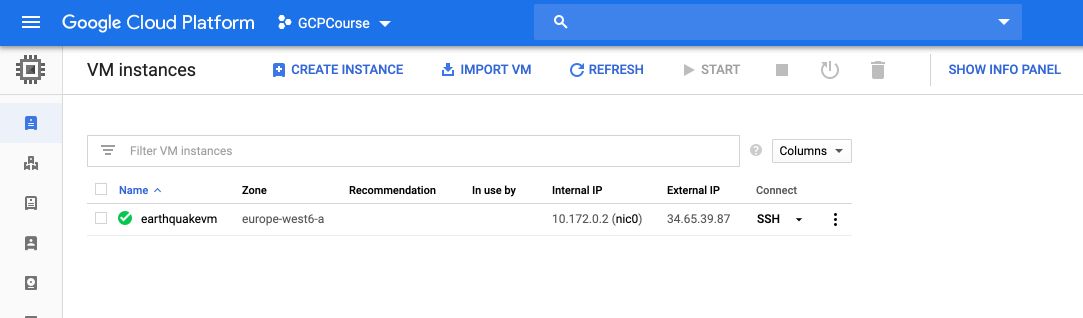
If you click on “SSH”, a terminal page will launch. Notice that there is absolutely no program installed.
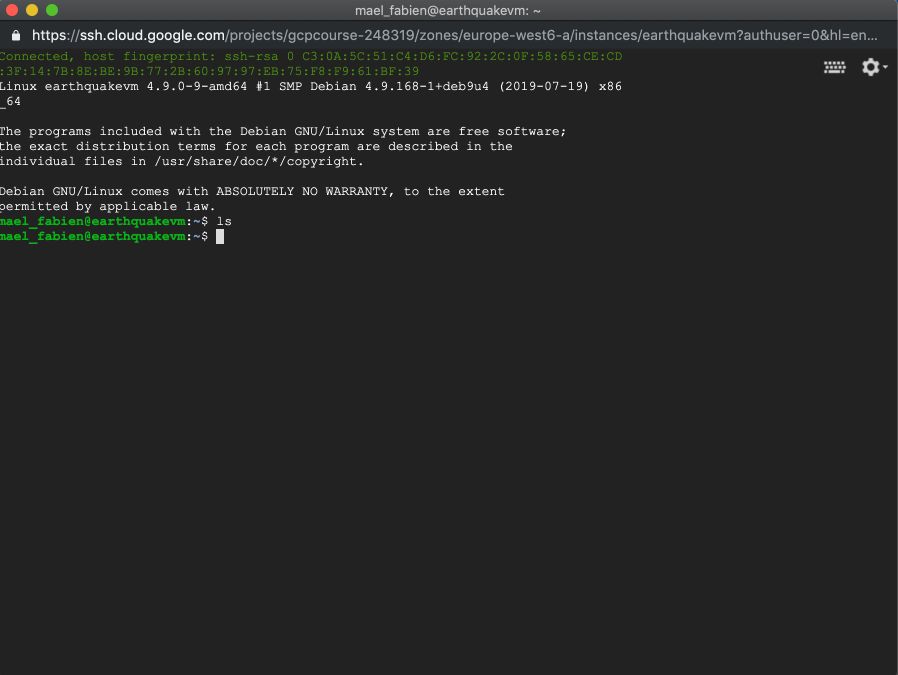
To install git for example, run the following command :
sudo apt-get install git
This will allow us to access our code repository through the VM. Google prepared a GitHub repository with the necessary data for the Earthquake demo. To clone the repo, simply run :
git clone https://www.github.com/GoogleCloudPlatform/training-data-analyst
Once the data has been loaded, simply go in the folder :
cd training-data-analyst/
cd courses
cd bdml_fundamentals/
cd demos
cd earthquakevm/
Notice that there is a file called ingest.sh. To view its content, run :
less ingest.sh
It removes existing files and makes a wget on the file to download. To quit the editor, type :wq. The earthquake data comes from USGS. There is also a Python file called transform.py that parses and transforms the input data. At that point, there are however many missing libraries in our VM. In this demo, Google packaged all necessary libraries in the install_missing.sh script.
It contains the following lines (you can check it with cat install_missing.sh) :
sudo apt-get update
sudo apt-get -y -qq --fix-missing install python3-mpltoolkits.basemap python3-numpy python3-matplotlib python3-requests
We can run the command to install missing libraries :
./install_missing.sh
Now, download the data by running :
./ingest.sh
There is now a file earthquakes.csv ! You can check its content by running :
head earthquakes.csv
This displays the following lines :
time,latitude,longitude,depth,mag,magType,nst,gap,dmin,rms,net,id,updated,place,type,horizontalError,depthError,mag,Error,magNst,status,locationSource,magSource
2019-07-30T19:49:53.860Z,35.8401667,-117.6665,4.07,1.37,ml,24,80,0.06113,0.19,ci,ci38673143,2019-07-30T19:53:42.289,Z,"24km ESE of Little Lake, CA",earthquake,0.26,0.61,0.134,19,automatic,ci,ci
2019-07-30T19:49:03.730Z,35.9245,-117.7173333,5.78,1.97,ml,29,40,0.05914,0.13,ci,ci38673135,2019-07-30T19:52:54.321, Z,"17km E of Little Lake, CA",earthquake,0.17,0.51,0.238,25,automatic,ci,ci
...
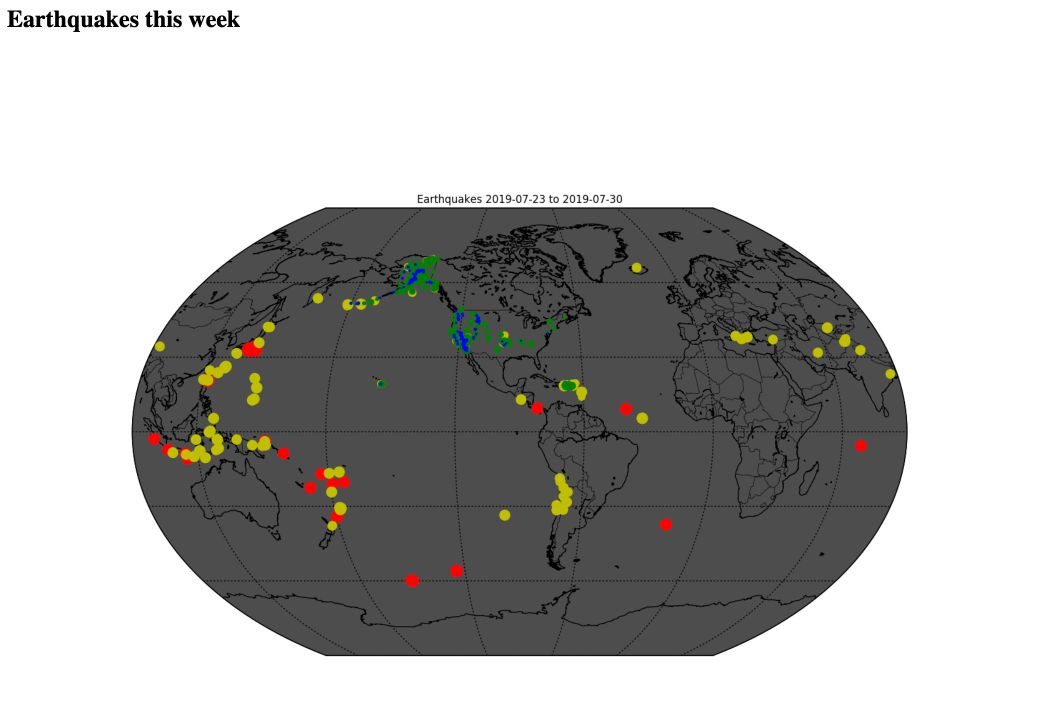
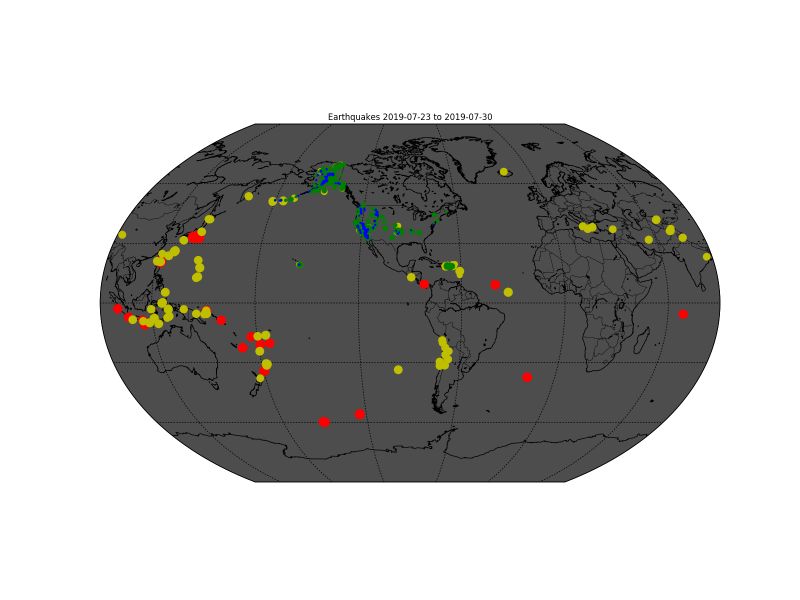
The file transform.py transforms the data into a PNG file. Execute the content of the file :
./transform.py
It created a file called earthquakes.png:

How can we get this file and read it on our Cloud Storage bucket? Go back to GCP, and click on Storage in the lateral menu.
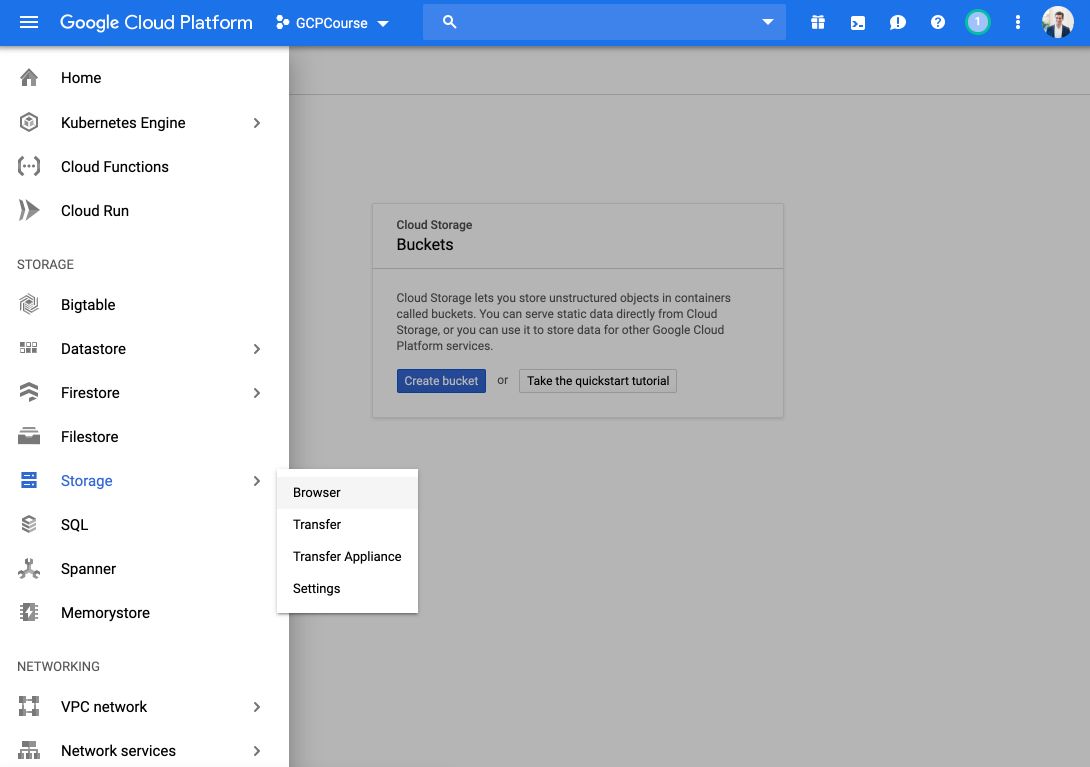
We will create a bucket.

The name of the bucket has to be globally unique. Set the name, choose the storage location (EU in my case), and leave the default value for the object access control: “Set object-level and bucket-level permissions”. Finally, click on “Create”, and the bucket is ready! Back to the terminal window, you can check the content of the bucket with the following command:
gsutil ls gs://earthquake_mael
(Where earthquake_mael is the name I gave to my bucket)

To copy the content of the VM instance to the Bucket, use the copy function in gsutils :
gsutil cp earthquakes.* gs://earthquake_mael
The bucket now contains the files we copied!
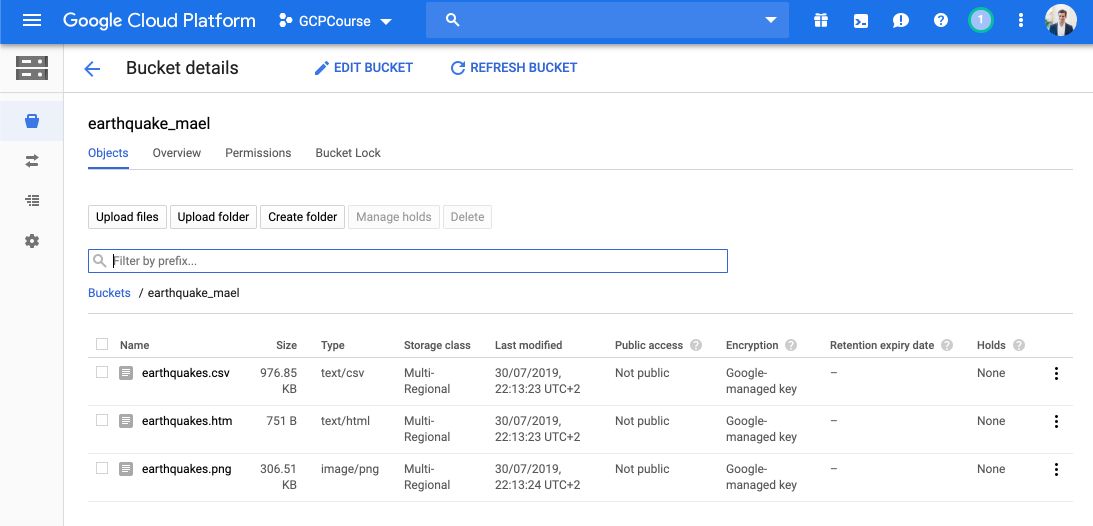
You can click on the earthquakes.png file, and this is what it looks like :
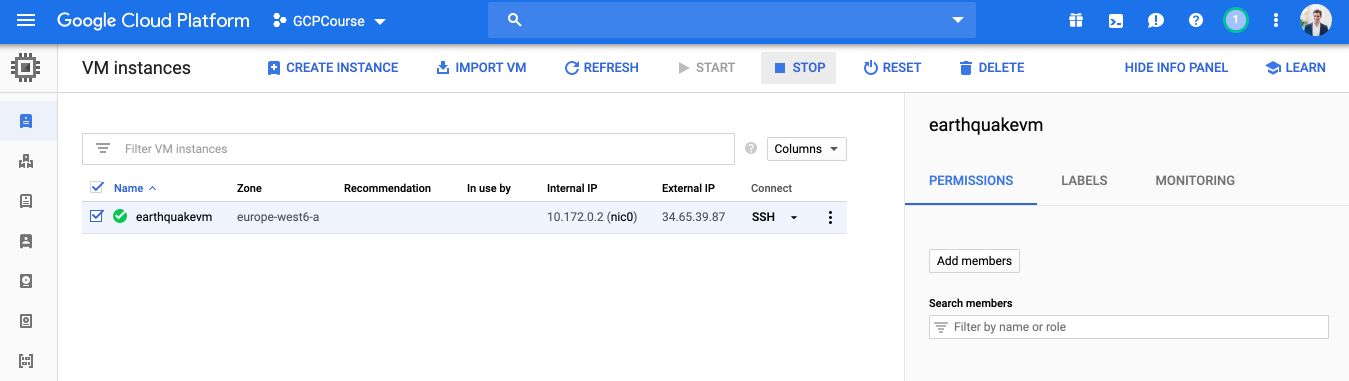
At that point, we don’t need the VM instance anymore. To stop paying, simply pause the VM from Compute Engine (or delete it if you don’t need it ever again) :
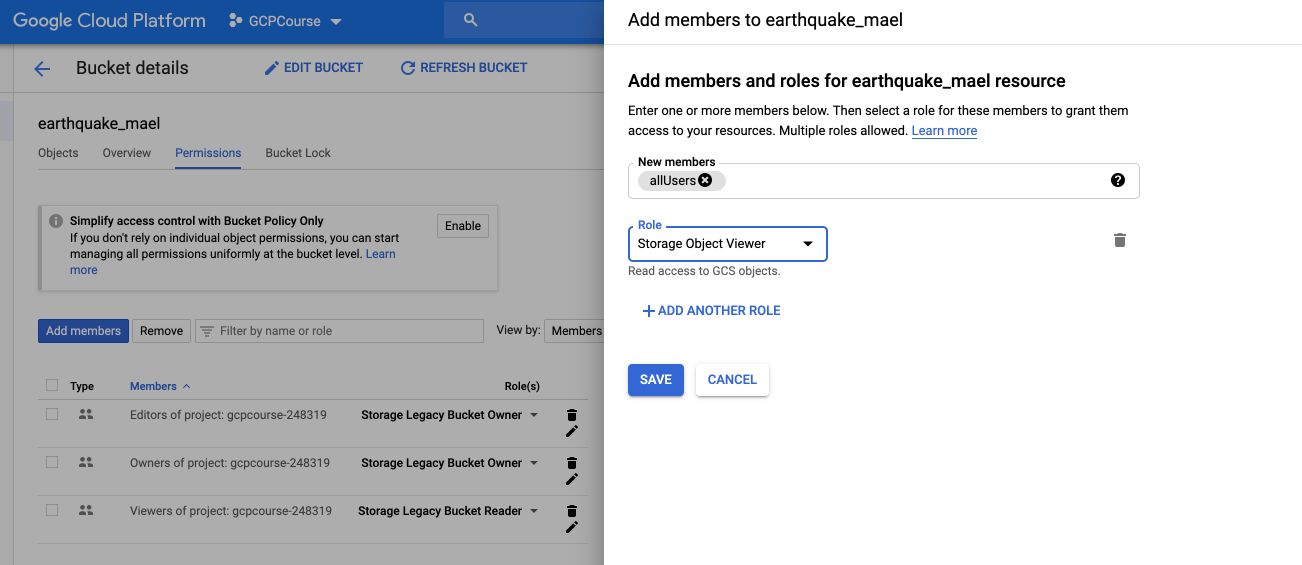
Suppose that now, we want to make our image public, as a static web app. How can we do that? Go back to the storage part, select all file you want to make available, and click on “Permissions” :
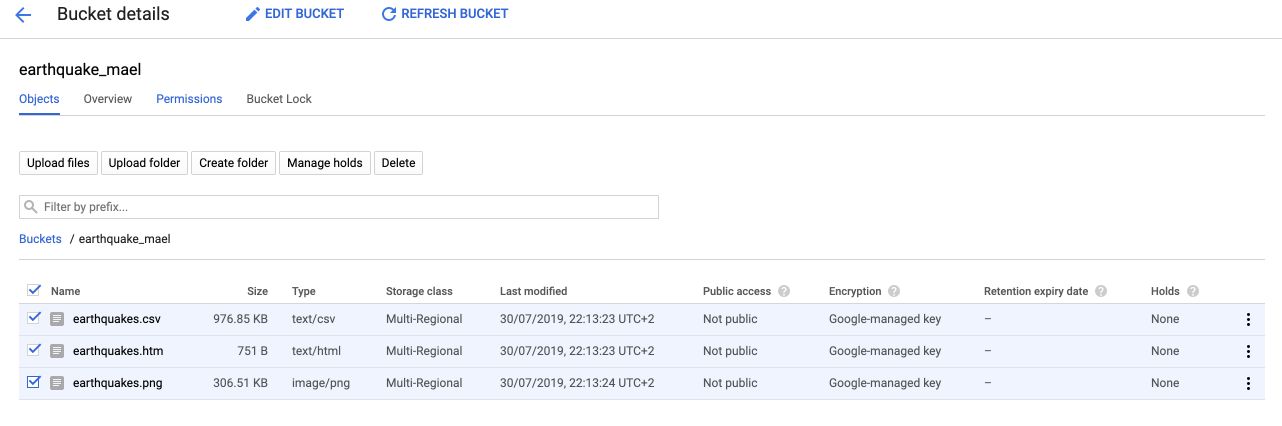
We then need to create a user and give it rights to view the content stored. Call the user allUsers.
Since the objects are now public, you can click on the public link provided (mine is here) :

Anyone with the public link can access the following HTML page that represents earthquakes this week :