
Deploy a container on GCP
In the previous article, we managed to build a container from a simple web application using Spacy, Streamlit and Docker. We ran the container locally. In this article, we’ll go a bit further and deploy the container on a container-specialized VM instance on Google Cloud Platform.
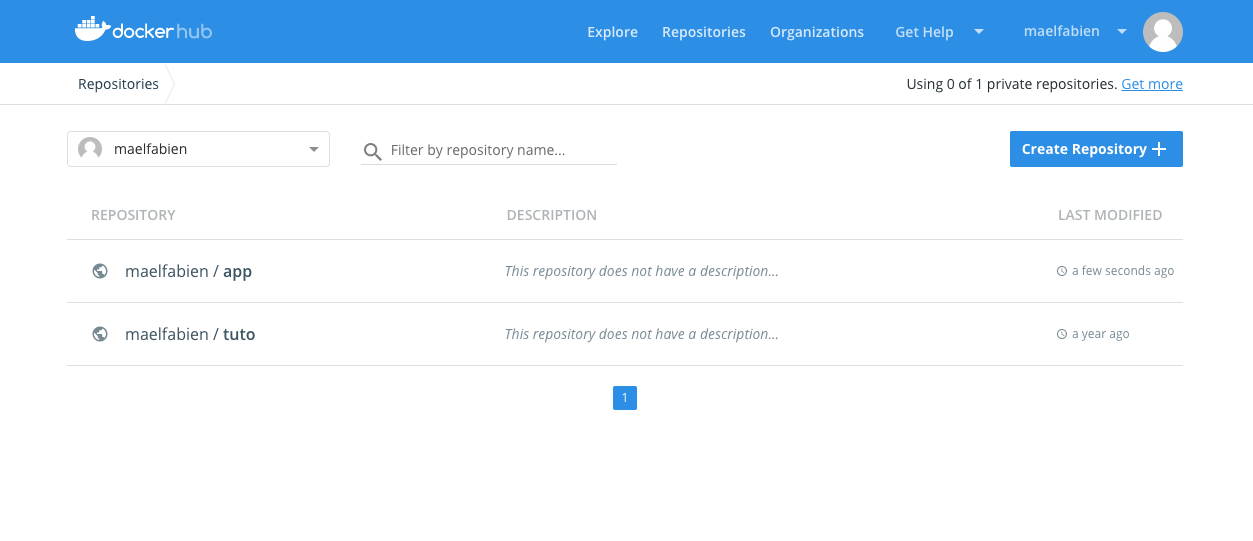
Pushing the image to Docker Hub
The first step is to push our image to Docker Hub. This can be done by command line. You must first check that you are logged in Docker Hub. Try to run : docker login and if Login Succeeded is displayed, you are all set.
Otherwise, create a DockerHub account from DockerHub’s website and log-in:
docker login --username=XXX --email=XXX@XXX.XX
Then, you must tag your image. This tag will be used as an identifier once you want to pull it or for others to pull it. You must first find the image’sI ID using : docker images. Copy the id of the corresponding image, and run:
docker tag IMAGE_ID YOUR_USERNAME/app:latest
The image is now ready to be pushed !
docker push YOUR_USERNAME/app:latest
You can now check that it is accessible from your DockerHub’s account.
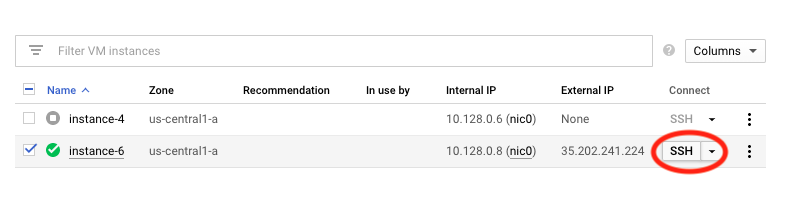
Checking the Instance
I wrote above that the instance already has Docker installed and the container is already running. Let’s check that !
Connect in SSH to the machine by clicking on SSH.
You can then check the images (docker images) and the running containers (‘docker ps’).

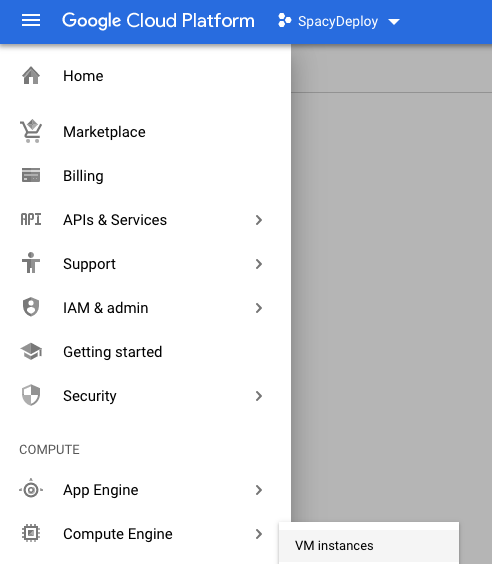
Starting a GCP Instance
From the Google Cloud Platform’s Console, go to Compute Engine > VM Instances.
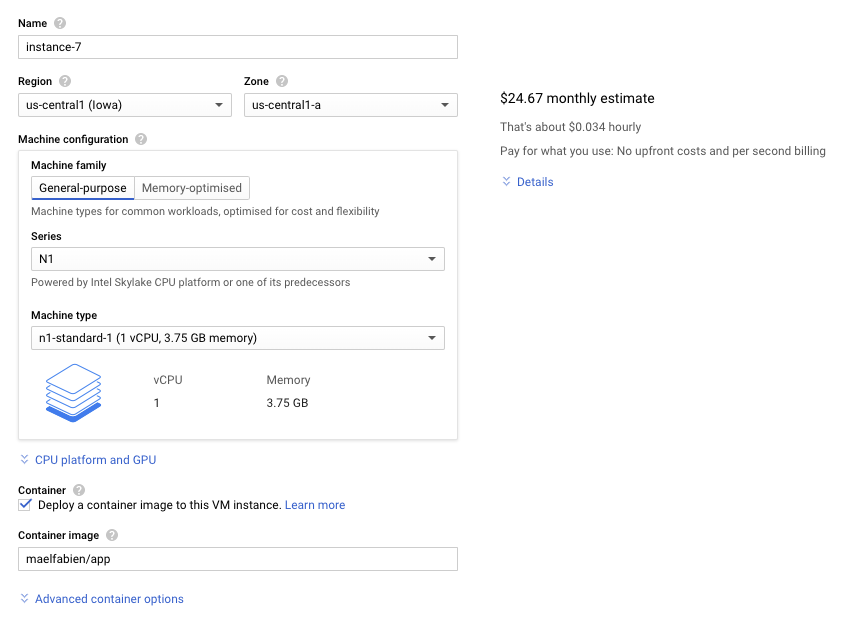
We will use the default machine. Check the button “Deploy a container image to this VM Instance”. This will automatically select a specialized VM instance (Container-Optimized OS) with a pre-installed Docker. It will also automatically run the specified Docker container.
You can specify the name of the container as simply as : YOUR_USERNAME/app (if you named it app).
Then, make sure to allow HTTP/HTTPs traffic depending on the port you expose your app to (80 or 443). If you expose your web application on a custom port, as I did (8501), you will need to set a specific Firewall rule.

If you use the default ports, you are now ready ! To access the web application, simply click on the External IP address of the instance.
Specifying a firewall rule
If you use Flask or Streamlit, there are chances that you exposed your application on a certain port. In my case, 8501.
In the side menu, go to VPC Network > Firewall rules.
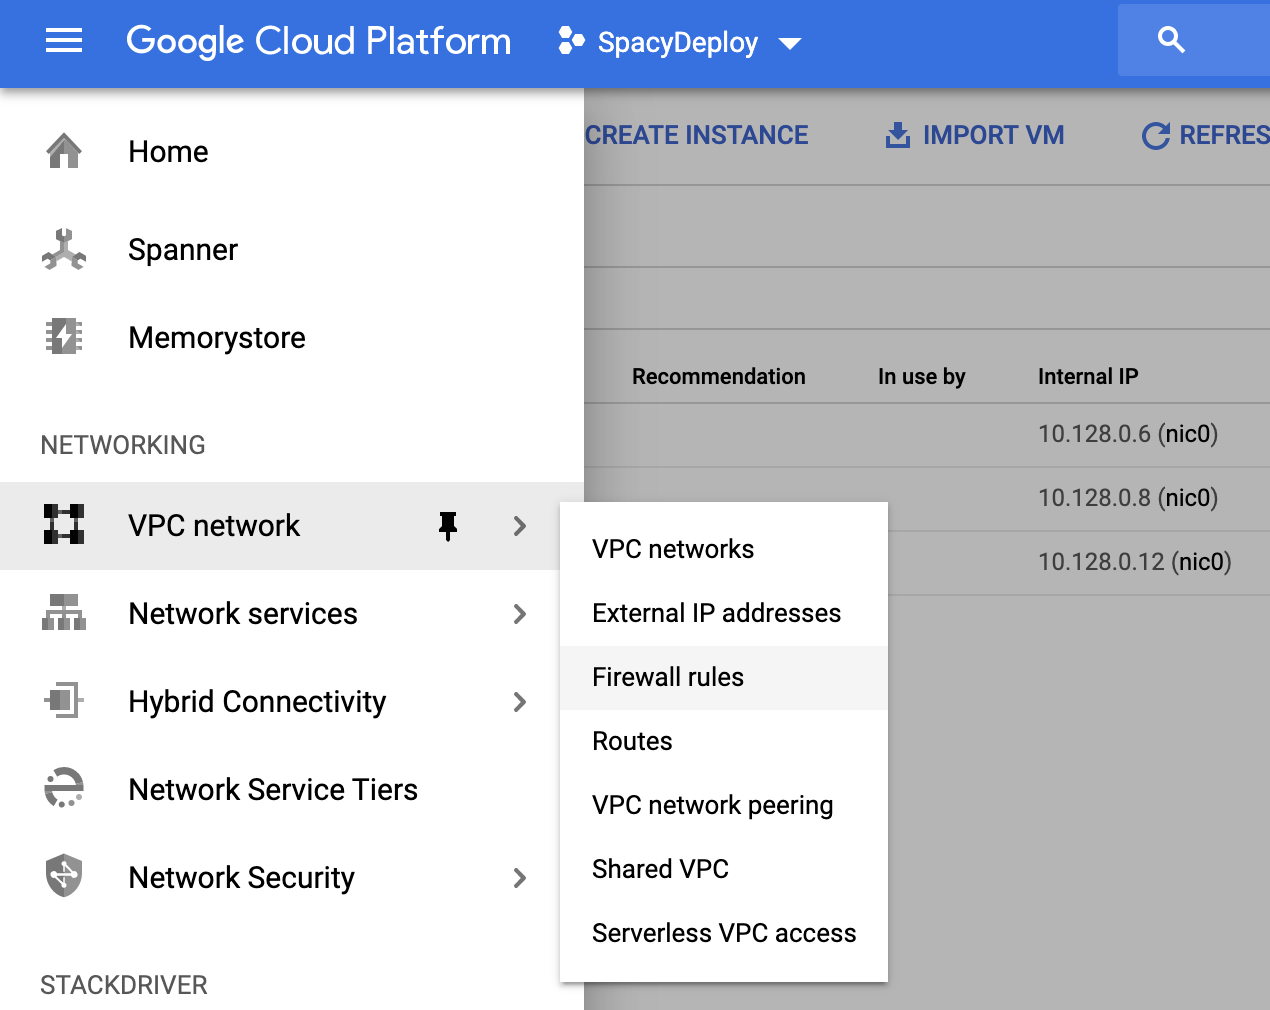
Click on Create a New Rule.
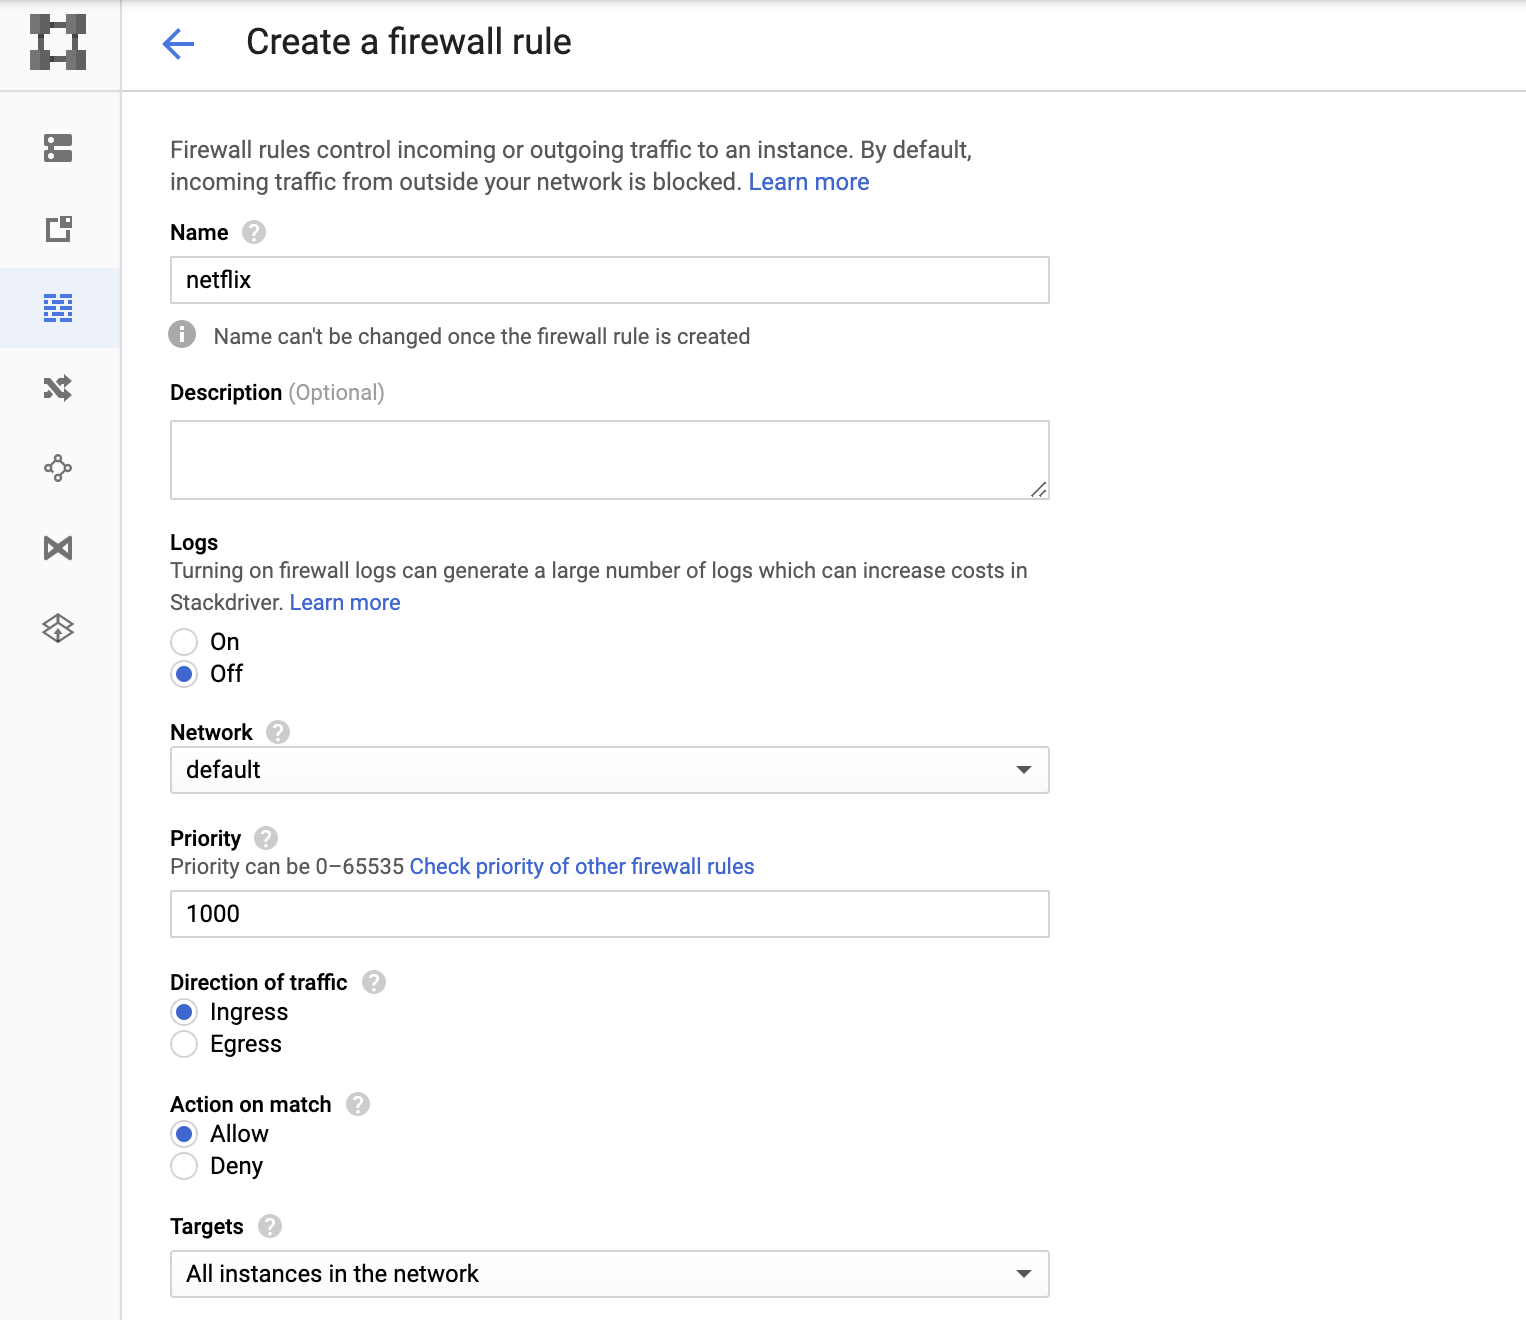
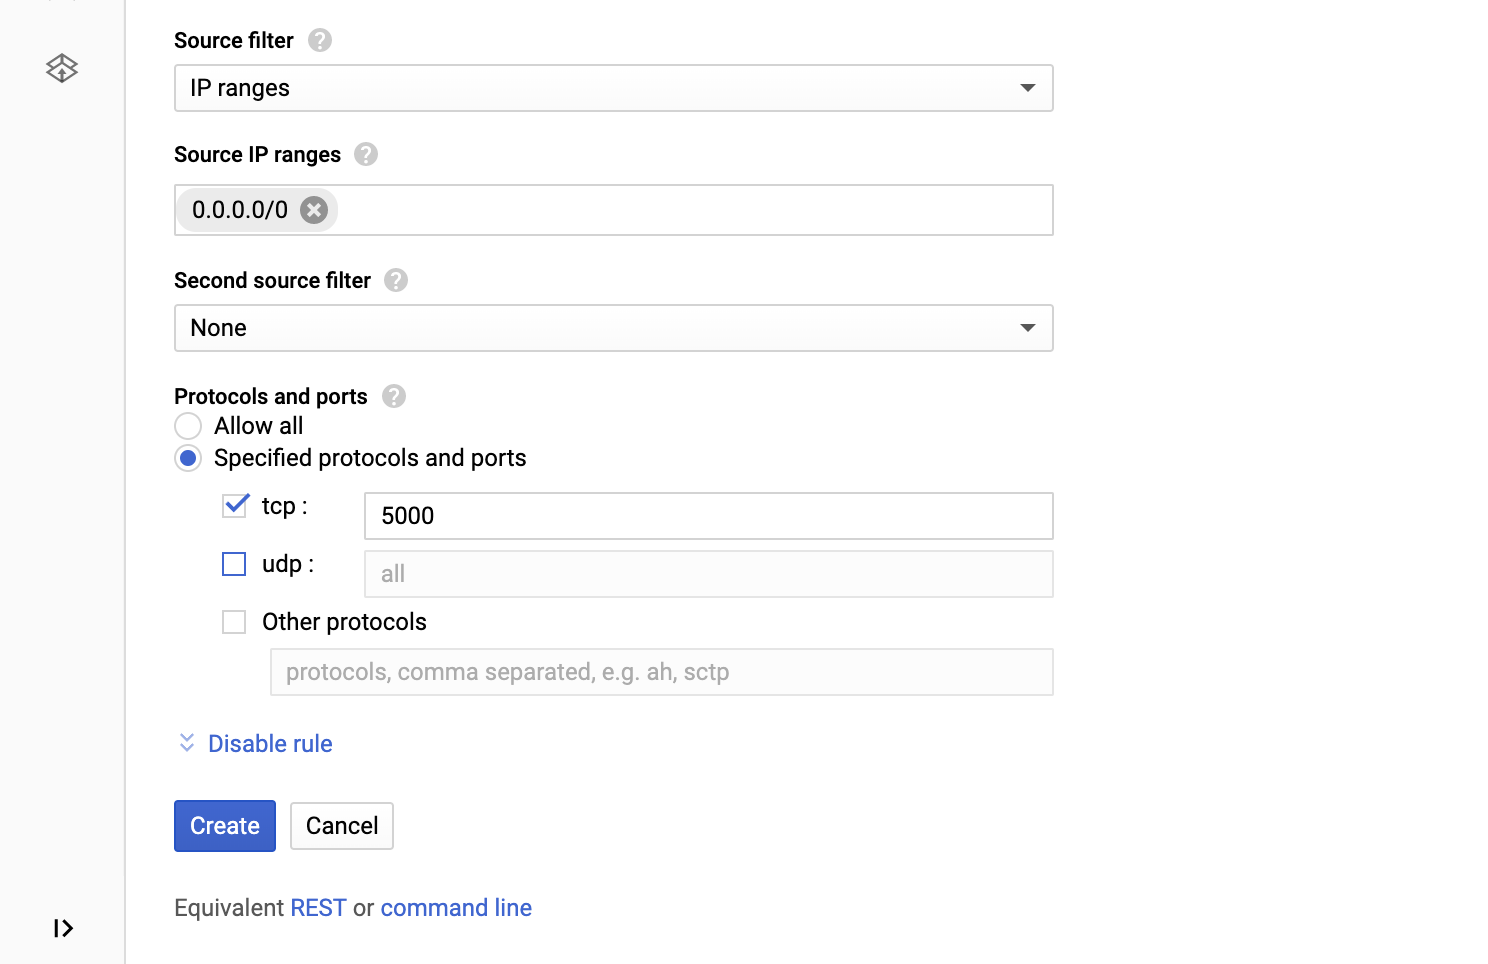
You can apply it to a specific instance or to the whole network. Then, you must specify Source IP ranges, and allow a specific port (image below displays port 5000, not 8501).
Once created, the rule is now activated on the running instance.
To run your web application, simply type:
http://INSTANCE_EXTERNAL_IP:PORT
And replace the external IP and the port with your values. Your application is now accessible to anyone, and the hosting typically costs around 25$ per month with this instance type.