
Deploy a Streamlit WebApp with Docker
Deploying your model in an interactive web application as a container can be challenging. Well, at least it used to. In this project, I will show you how to deploy a Named Entity Recognition web application using Spacy, Streamlit, and Docker in a few lines of code.
The application
First, create a folder called docker-spacy (arbitrary). The application is just 11 lines of code thanks to the framework offered by Streamlit. Streamlit is a web application framework designed for data science. It is extremely light and has a pre-built layout.
import spacy
import streamlit as st
nlp = spacy.load("en_core_web_sm")

def return_NER(value):
    doc = nlp(value)
    return [(X.text, X.label_) for X in doc.ents]

# Add title on the page
st.title("Spacy - Named Entity Recognition")

# Ask user for input text
input_sent = st.text_input("Input Sentence", "Your input sentence goes here")

# Display named entities
for res in return_NER(input_sent):
    st.write(res[0], "-->", res[1])
Save this file as app.py. We can test the application by running:
streamlit run app.py
The application is now visible in your browser at: http://localhost:8501
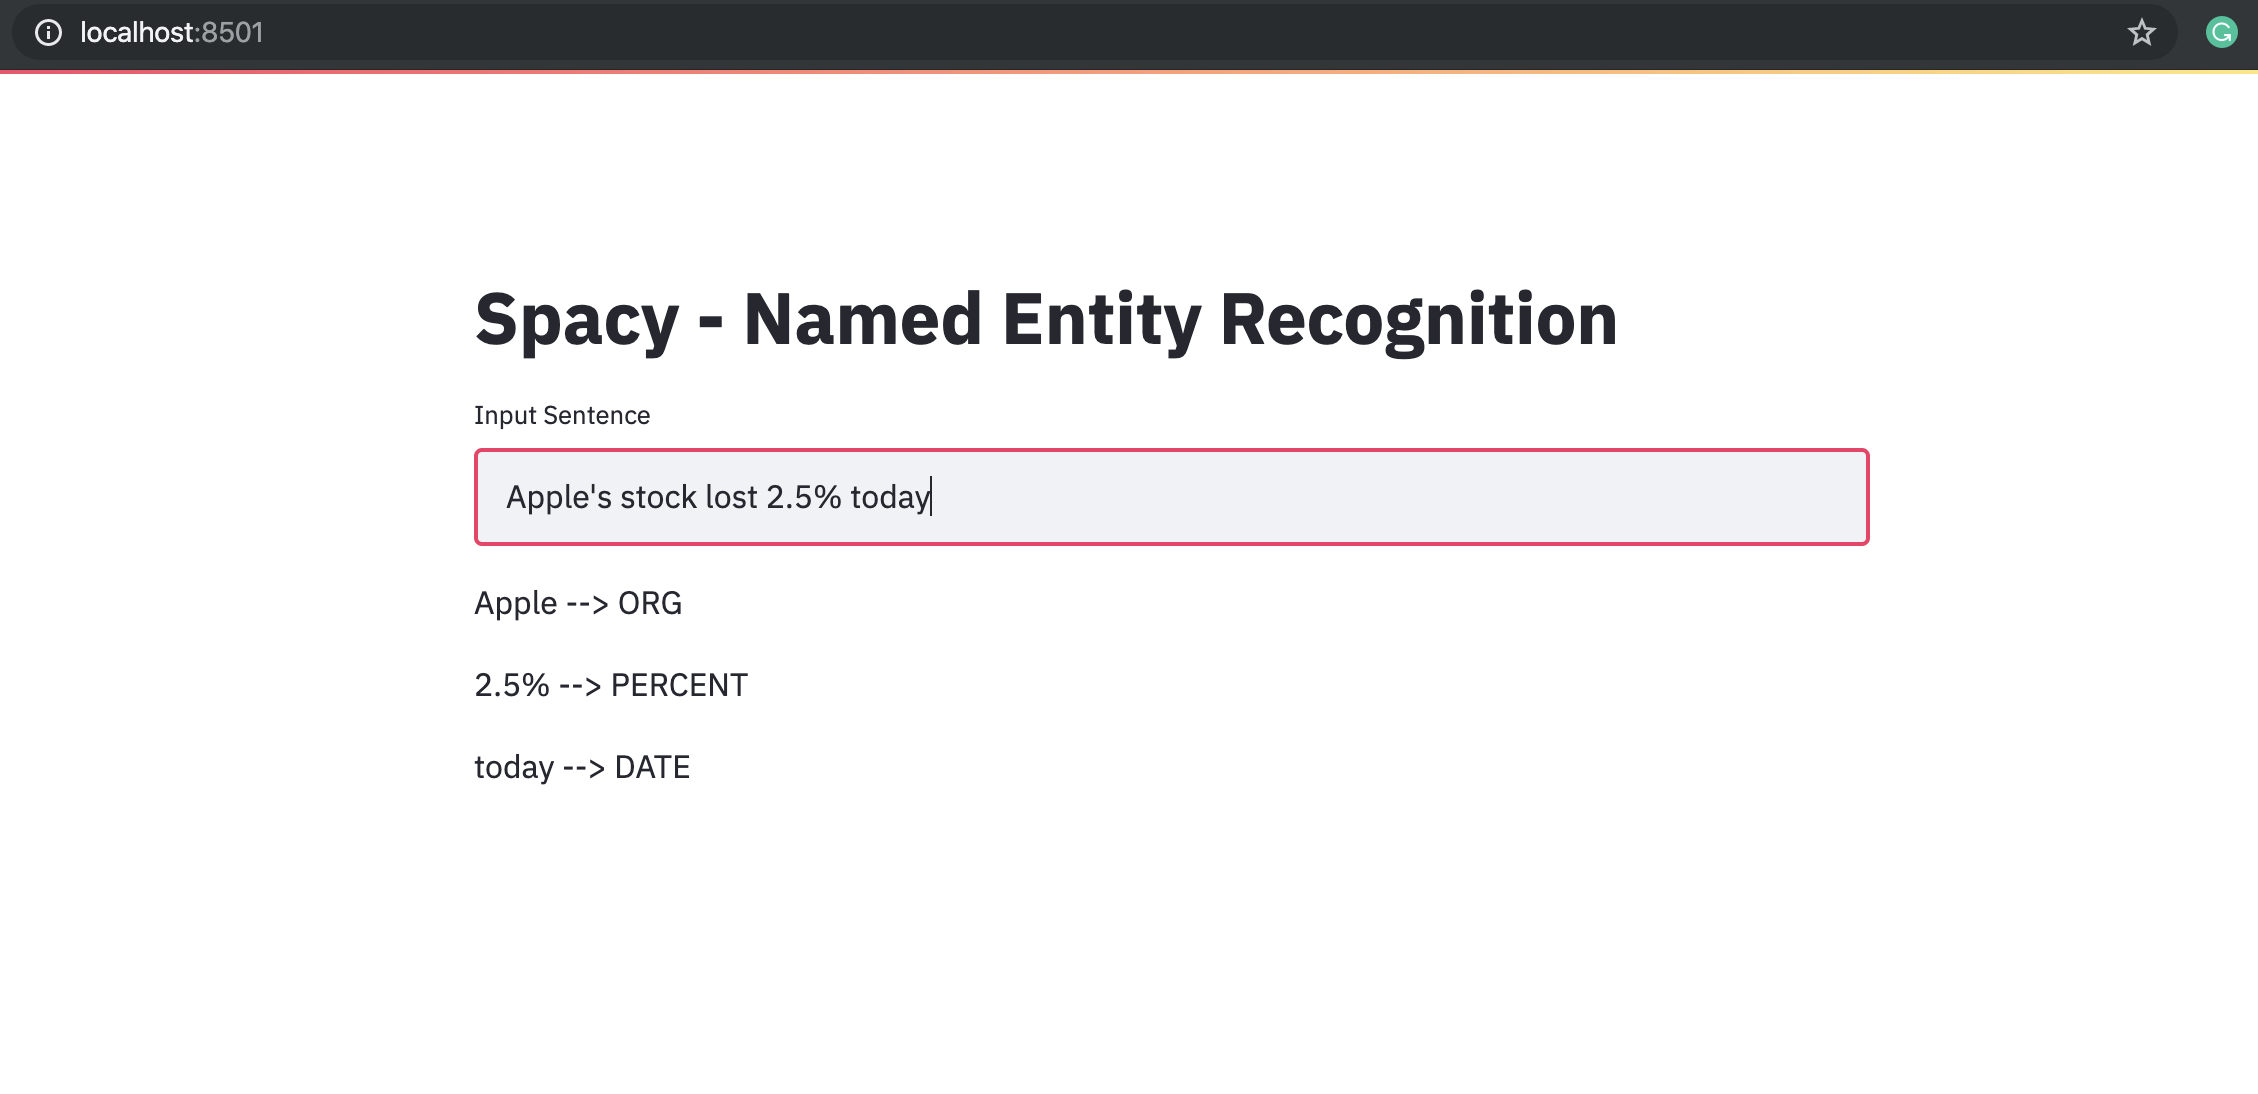
And there we are. We have a simple web app doing Named Entity Recognition in Spacy in 11 lines of code! The application is extremely simple, and unlike Flask, you don’t have to manage the HTML, the CSS, the GET/POST methods or anything.
Requirements
The next step is to build a file called requirements.txt. This file will contain all dependencies. Inside, you should have:
streamlit
spacy
https://github.com/explosion/spacy-models/releases/download/en_core_web_sm-2.2.0/en_core_web_sm-2.2.0.tar.gz
The last link is an alternative to the traditional way to install pre-trained models for NER in Python (python -m spacy install en_core_web_sm). The advantage of using the direct download link is to have everything in the same requirements file, which is easier for the Dockerfile.
Dockerfile
The dockerfile will contain all the instructions to build the image. It is relatively easy, and only takes 7 lines:
FROM python:3.7
EXPOSE 8501
WORKDIR /app
COPY requirements.txt ./requirements.txt
RUN pip3 install -r requirements.txt
COPY . .
CMD streamlit run app.py
We first base our image on a pre-existing image. We then expose it on port 8501. We set the working directory to an app sub-folder. We copy the requirements and install them. We then copy the whole content of the app and run the command to launch the application!
We now only need to build the container:
docker build -f Dockerfile -t app:latest .
And run it (make sure to stop your local Streamlit before!):
docker run -p 8501:8501 app:latest
Your container is now available on http://localhost:8501/ !
This is how you can build a simple yet state-of-the-art NER web application using Docker, Spacy, and Streamlit. You can now use AWS, GCP or Azure to deploy the container in a few minutes :)
NB: Awesome work in the comments by Zeph Grunschlag to deploy it on AWS Fargate in 1 command line, the repo is here.