
History of Python
Python was developped by Guido van Rossum in the Netherlands at the end of the 80s. It lead to the creation of the Python Software fundation in 2001. In 2008, Python 3.x was introduced. It is now since 2020 the only supported version.
What is Python?
Python is an object-oriented programming language, in the sense that you can declare objects which have properties and methods. It is considered as a high-level programming language in the sense that the user does not have to deal with memory allocation for example, as opposed to C which is a low-level language.
Why Python?
Python became really popular since it’s easy to learn, easy to install, has lots of open source packages. It can be used to prototype easily. However, Python does not scale really well on large tasks and large volumes of data. We usually prefer to use Scala or C++ in such cases.
How to program in Python?
There are again many options to program in Python. It will depend on what you expect and what you are used to:
- a raw file, saved as a .py file is a Python file that can be executed as
python myfile.py - use a text editor such as Sublime Text or Atom. The hard way, typos are easy, not recommended.
- use an IDE such as PyCharm (includes everything with clicks and drag/drop such as a debugger and Github connect). Great for projects.
- using Google Colab and other online hosted services. These services allow you to code and run your code online. Good if you need GPU access for example.
- using Jupyter Notebooks or Jupyter Lab, what most data analyst / scientists do to explore their data and prototype. This opens a web browser tabs which runs locally and lets you code using their visual interface. It creates notebooks,
.ipynbextensions which contains code, text and images.
My personal pick for my projects:
- exploratory data analysis and prototyping with Jupyter Notebooks
- move the code once done in Python files with Sublime Text
- if additional computing power is needed, move to Google Colab or other hosted services
In groups, working with PyCharm works well since it includes a good debugging feature.
Using Jupyter Notebooks
To start Jupyter Notebook, go to your terminal, in the folder you’d like to create the notebook in and run:
jupyter notebook
A page similar to this one (but with different files inside) should open.
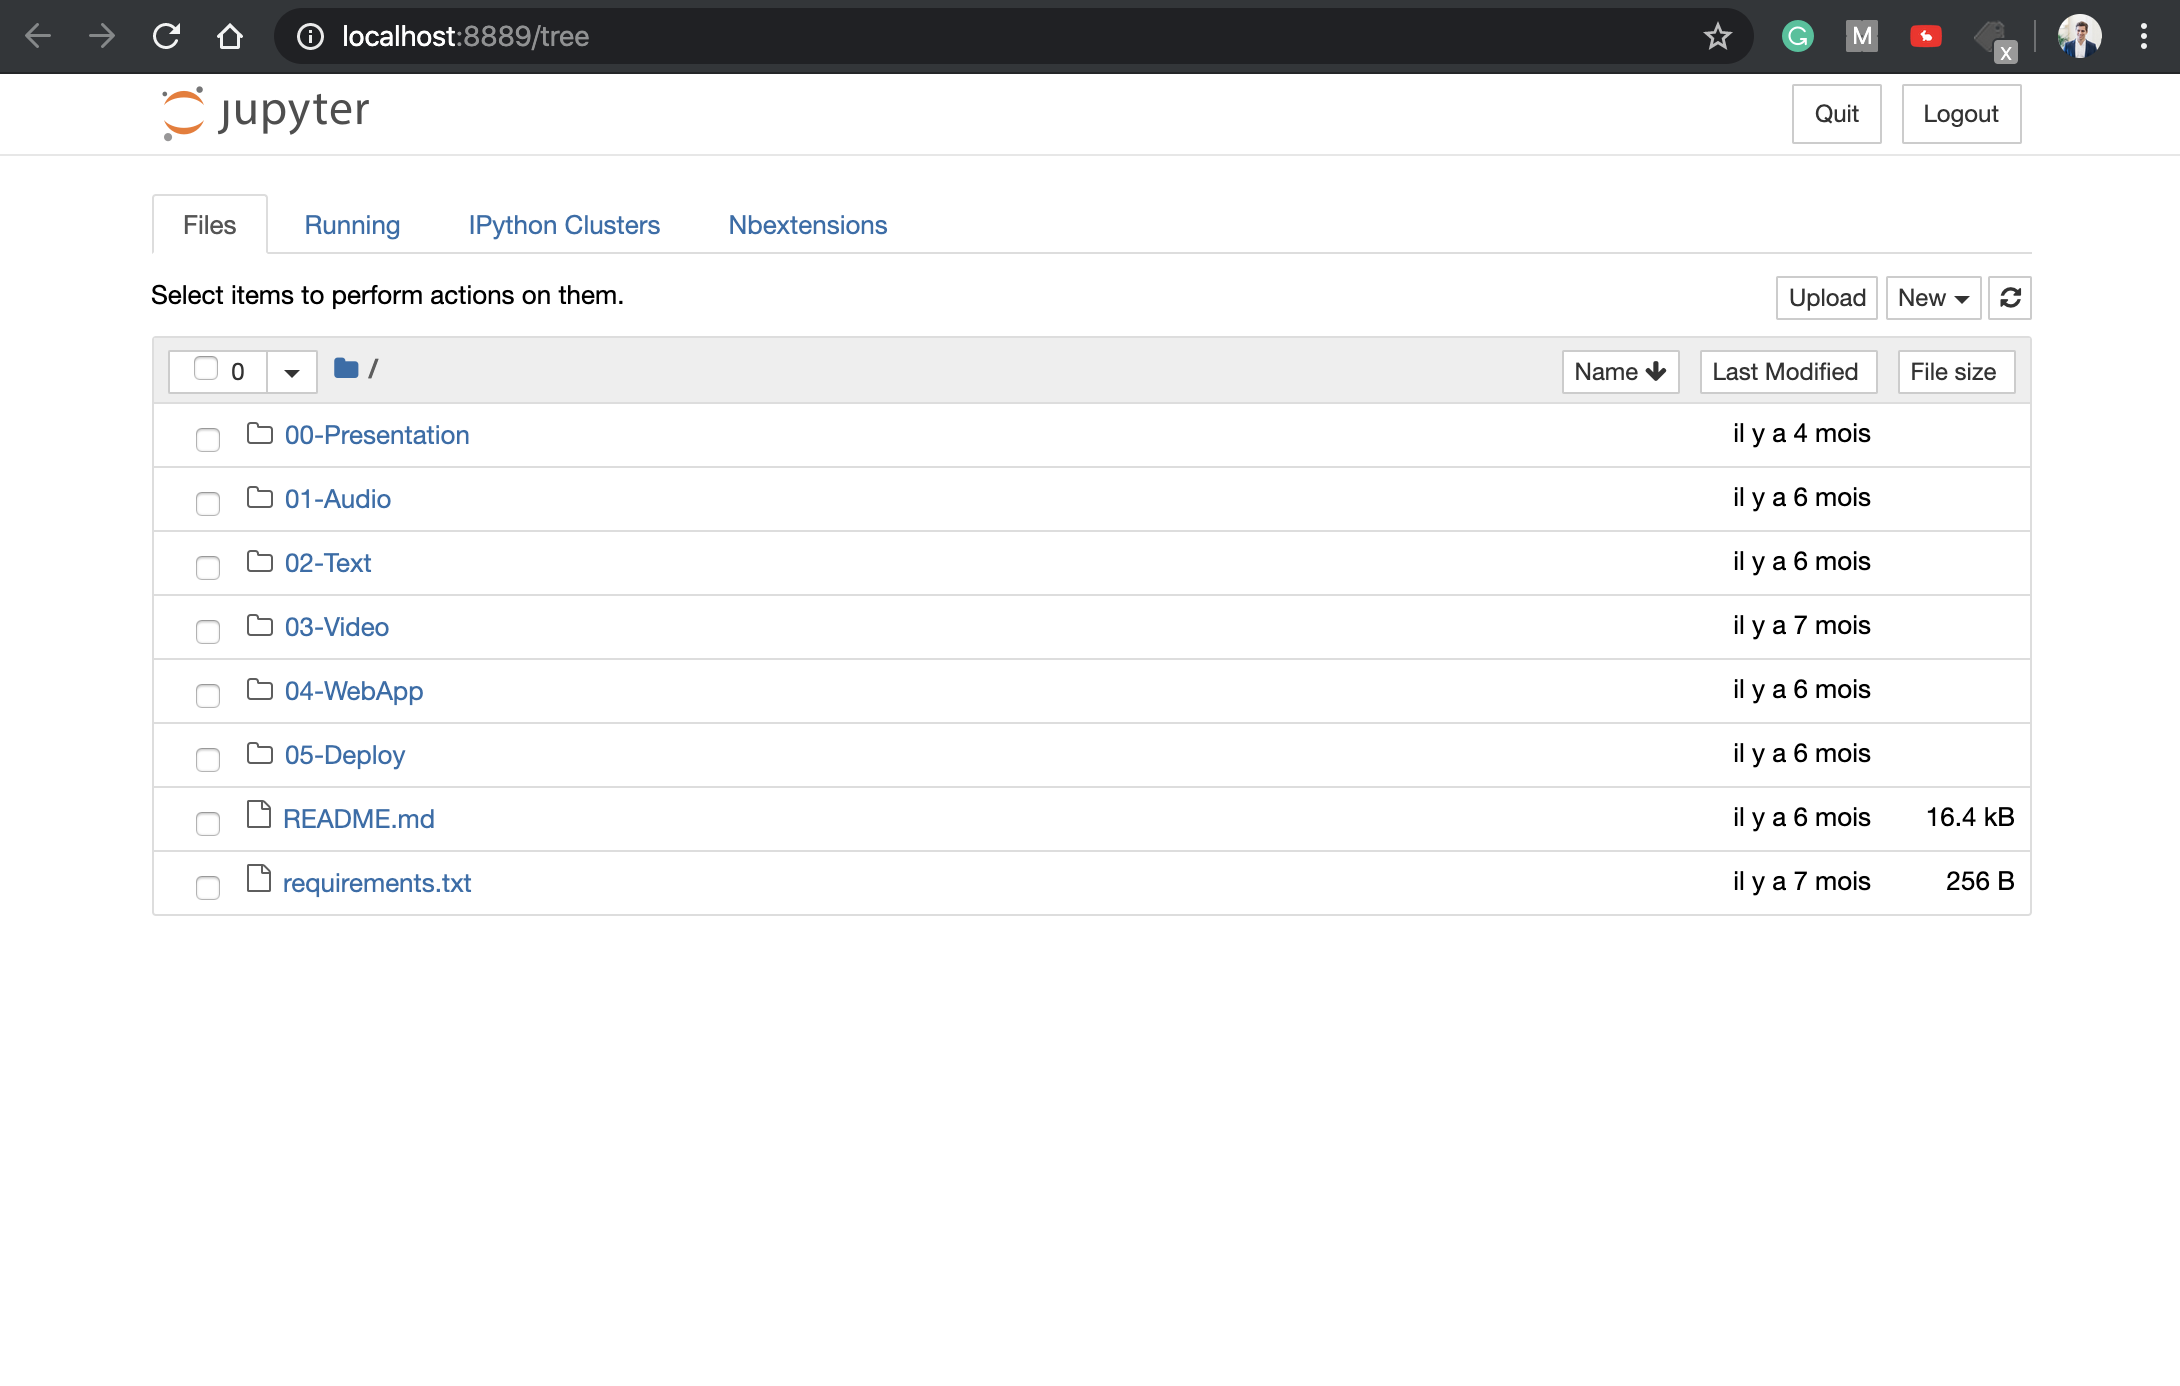
It is simply a graphical display of the current content of your folder. We will create a Jupyter notebook by clicking on “New > Python 3”.

Don’t worry if you don’t have exactly the same tabs as me, I have some extra installs for the moment. This will create a Python kernel, a small instance of Python, running in your browser, that uses the computing power of your machine. You should now see:
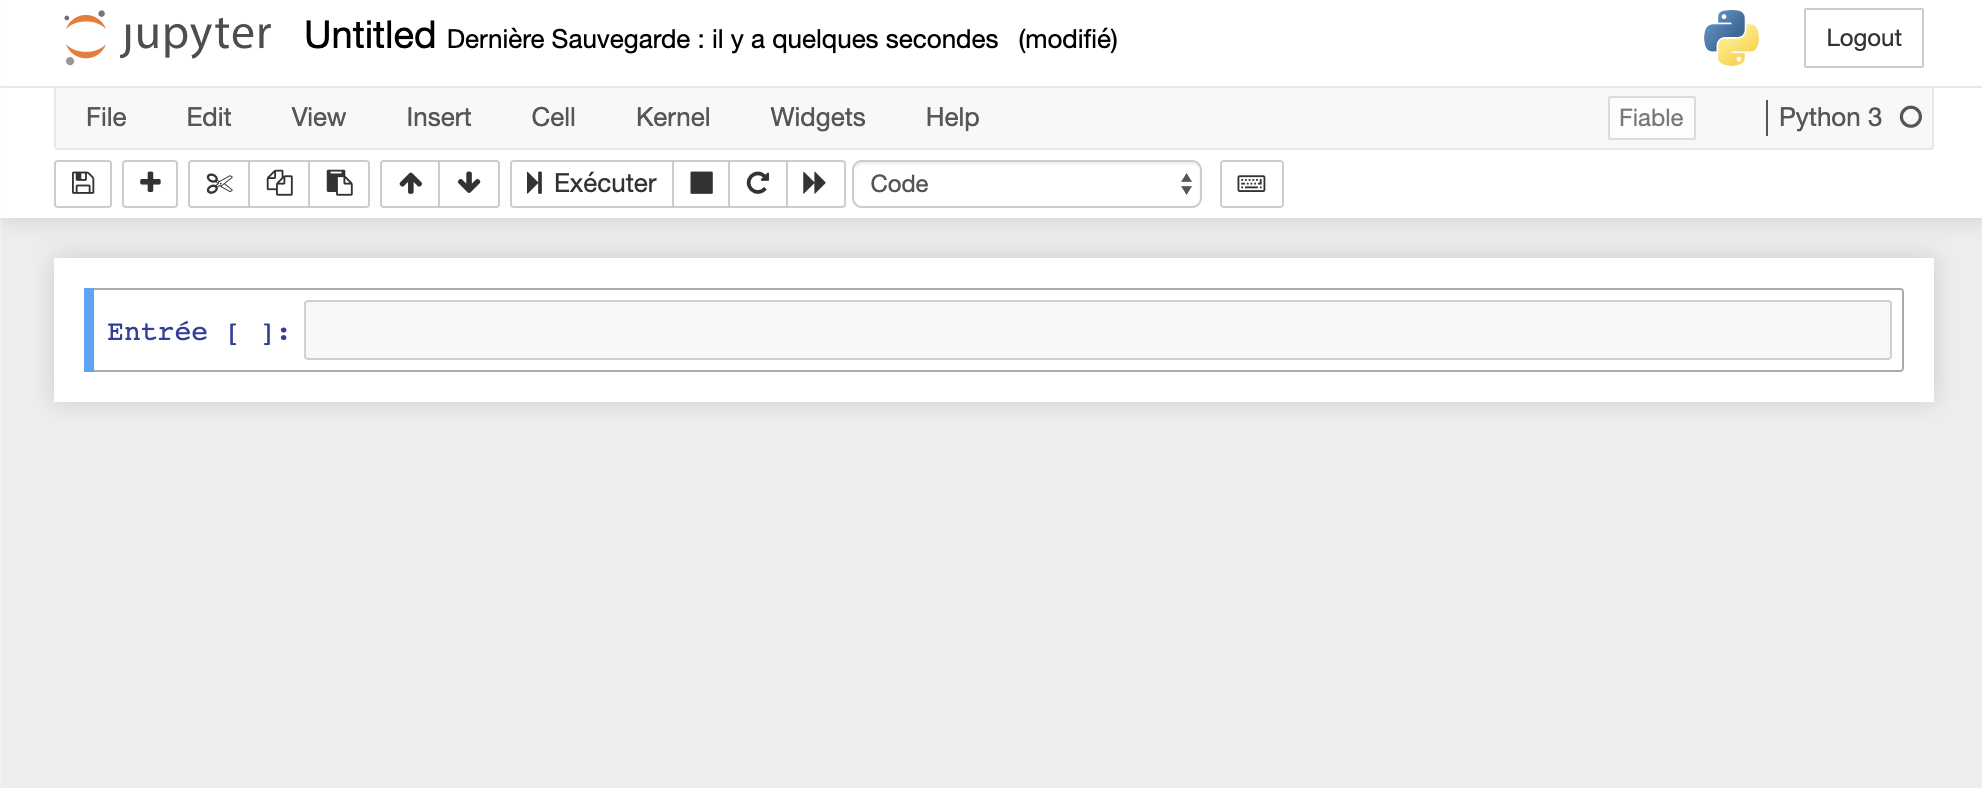
You can give your notebook a name, as add cells in the notebook. Cells can be 2 types:
- Markdown, text with a bit of formating
- Code
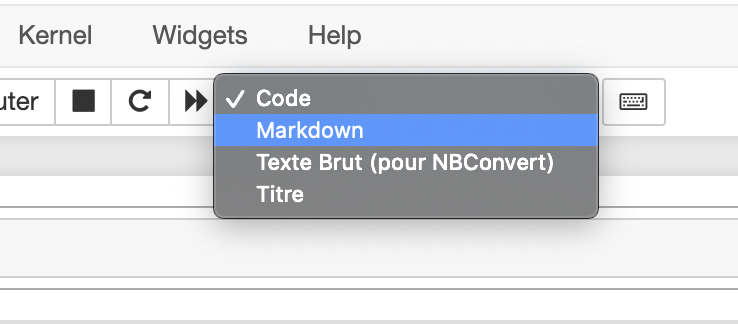
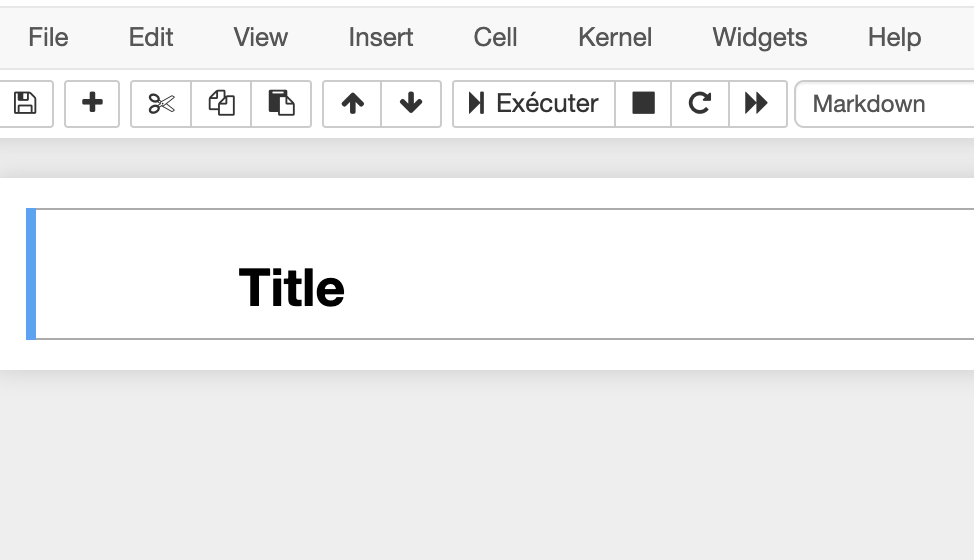
To write a title, select the cell by clicking on it, and select “Markdown” is the “Code” dropdown menu.
You can now type the title of the notebook in the cell. If you don’t know much about Markdown, it’s a hybrid between .txt files and HTML. It lets you type HTML code with shortcuts and regular text. For example, to put a title in bold as a <h1> title in HTML, simply type:
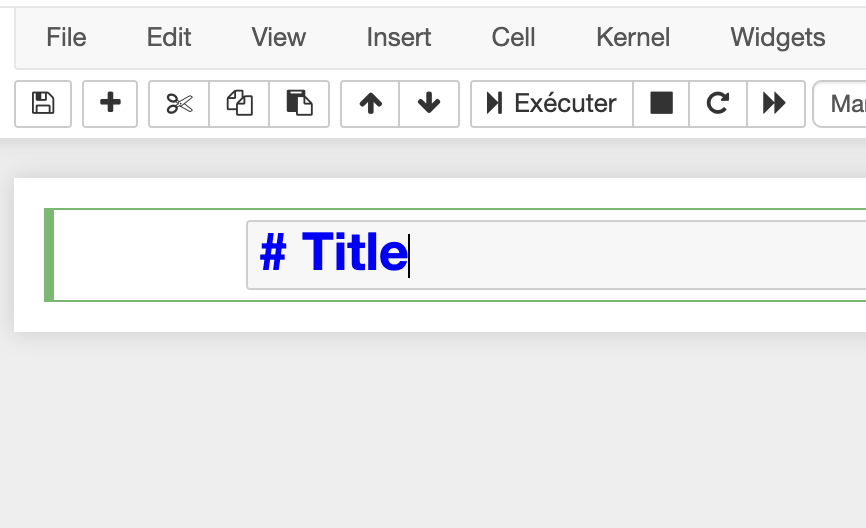
If you execute the cell (“Execute” button, or Ctrl + Enter), you’ll see the title:
To add another cell, click on “Insert > Cell below”, or simply on the keyboard “b”. We will now add content with regular text, text in italic, bold, italic and bold, and lists:
My text goes here.

Text in *italic*
Text in **bold**
Text in ***italic and bold***

Lists are:
- easy
- to
- make

This is all you need to know for the moment on Jupyter Notebooks. We will dive deeper into Python programming in the next articles.
If you found the article useful or see ways in which it could be improved, please leave a comment :)