We have already seen how to run a Zeppelin notebook locally. Most of the time, your notebook will include dependencies (such as AWS connectors to download data from your S3 bucket), and in such case, you might want to use an EMR. Amazon EMR provides a managed Hadoop framework that makes it easy, fast, and cost-effective to process vast amounts of data across dynamically scalable Amazon EC2 instances.
Important notice: EMR instances are fully managed and configured. Once launched, EMR instances cannot be terminated without losing all data attached to it. EMR can typically be used to build an ETL (extract, transform, load) to download and transform data from a given source, and later on load the data in a database.
Launching an EMR instance
1. Key Pair
The first step is to create a key pair. “Amazon uses public-key cryptography to encrypt and decrypt login information. Public–key cryptography uses a public key to encrypt a piece of data, such as a password, then the recipient uses the private key to decrypt the data. The public and private keys are known as a key pair”.
Log into your AWS Console and click on EC2 (or click here) : https://console.aws.amazon.com/ec2/v2/home?region=us-east-1#KeyPairs:sort=keyName

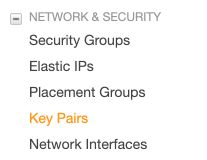
Scroll down the side menu to Network and Security and click on Key Pairs :
Then, create a key pair and give it a name :
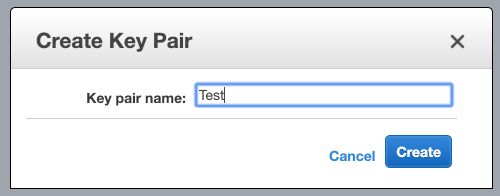
The keypair .pem file will automatically be downloaded. Make sure to save the file!

2. Create New Group
An IAM group is a collection of IAM users. Groups let you specify permissions for multiple users, which can make it easier to manage the permissions for those users. For example, you could have a group called Admins and give that group the types of permissions that administrators typically need. Any user in that group automatically has the permissions that are assigned to the group.
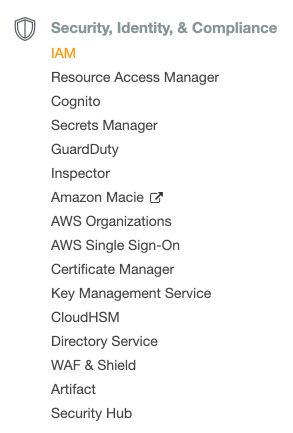
Your first step here will be to connect to your IAM section from the AWS console :
Then, click on Groups, “Create New Group” and add a name :

Select a policy to attach. Here, the AdministratorAccess.

Review the information and confirm the group creation.
3. Add a user to your group
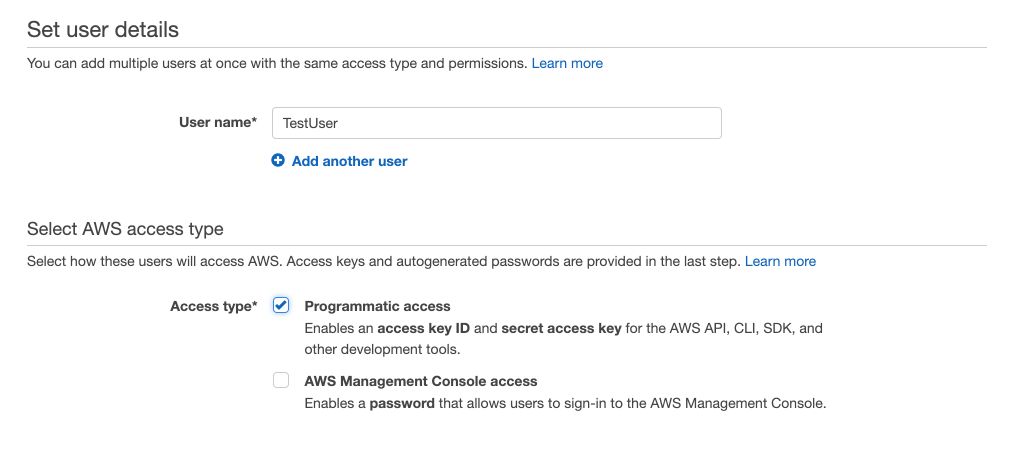
From the IAM menu, click now on “User” and add a new user. Give it a name, and allow programmatic access.
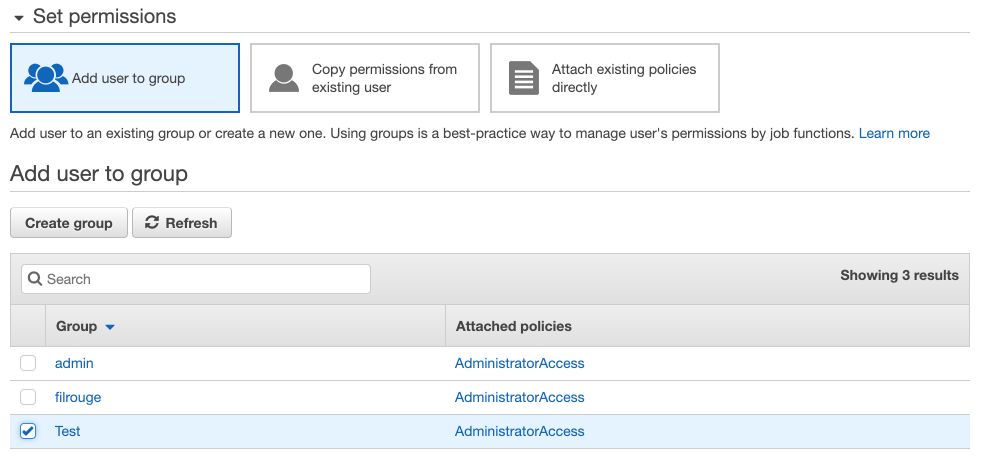
Add your newly created user to the group you created previously :
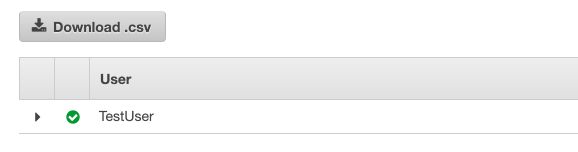
You can eventually add tags at the next step. Confirm the user creation.
! Make sure to save the CSV file. This is your only chance to download this file. The file contains the private and public key for your user. Those credentials will be useful when you’ll interact in Spark-Scala with AWS services (e.g S3 bucket).
The user we created has admin rights. It will be useful in our case, but for security reasons, it is not advised to work with admin accounts.
4. Start the instance
Then, log in to your AWS management console : https://console.aws.amazon.com/console/
In the Analytics section, click on EMR :

Click on “Create Cluster” :

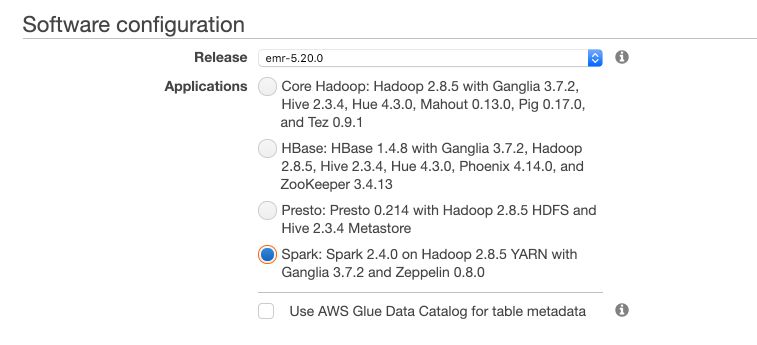
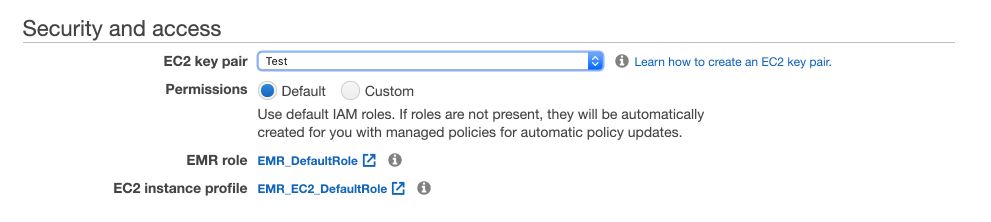
Make sure to select the configuration that includes Spark :
And select your key pair :
Wait a few minutes for your instance to start.
At that point, the instance we created does not allow for SSH connection. The next step will allow us to allow SSH connection and to redirect the port of your AWS machine to a local one later on.
5. Allow SSH connection
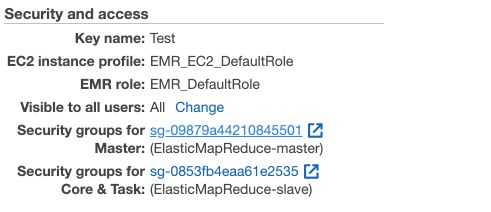
In the “Security and access” section, click on the link attached to Security groups for Master.
Then select the group “Master group for Elastic MapReduce” and edit inbound rule :
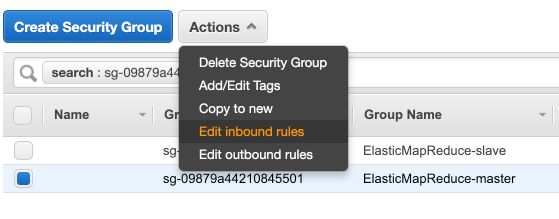
Then add a rule, and allow SSH from anywhere :

If you get an error, add the sources separately. First a security rule with source 0.0.0.0/0 , and then another one with ::/0.
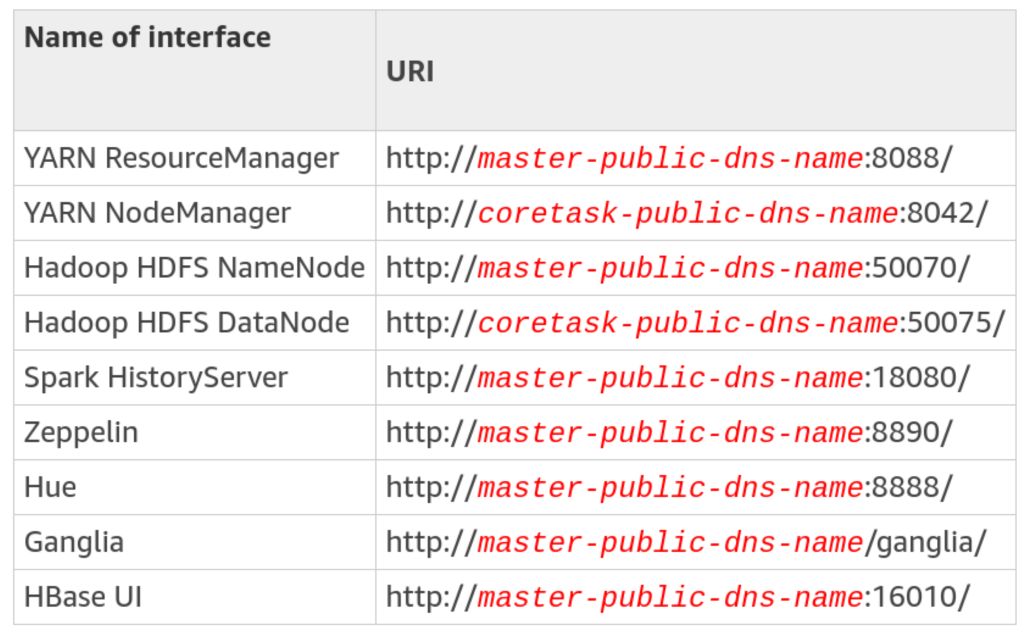
Once the SSH connection has been allowed, we will be able to redirect the different services to our local ports when establishing the SSH connection. The different services pre-configured on your EMR instance can be accessed through the following ports :
6. Connect to your EMR instance
In your terminal :
ssh -L 8891:127.0.0.1:8890 -i Test.pem hadoop@ec2-XXX.compute-1.amazonaws.com
The command -L redirects the port 127.0.0.1:8890 of your EMR instance to your local port 8891. Make sure that you are in the folder that contains your keypair Test.pem or that you indicate the complete path to the key pair.
If your connection is successful, you should see something like this :
Last login: Thu Dec 13 09:48:13 2018

__|  __|_  )
_|  (     /   Amazon Linux AMI
___|\___|___|

https://aws.amazon.com/amazon-linux-ami/2018.03-release-notes/
20 package(s) needed for security, out of 26 available
Run "sudo yum update" to apply all updates.

EEEEEEEEEEEEEEEEEEEE MMMMMMMM           MMMMMMMM RRRRRRRRRRRRRRR
E::::::::::::::::::E M:::::::M         M:::::::M R::::::::::::::R
EE:::::EEEEEEEEE:::E M::::::::M       M::::::::M R:::::RRRRRR:::::R
E::::E       EEEEE M:::::::::M     M:::::::::M RR::::R      R::::R
E::::E             M::::::M:::M   M:::M::::::M   R:::R      R::::R
E:::::EEEEEEEEEE   M:::::M M:::M M:::M M:::::M   R:::RRRRRR:::::R
E::::::::::::::E   M:::::M  M:::M:::M  M:::::M   R:::::::::::RR
E:::::EEEEEEEEEE   M:::::M   M:::::M   M:::::M   R:::RRRRRR::::R
E::::E             M:::::M    M:::M    M:::::M   R:::R      R::::R
E::::E       EEEEE M:::::M     MMM     M:::::M   R:::R      R::::R
EE:::::EEEEEEEE::::E M:::::M             M:::::M   R:::R      R::::R
E::::::::::::::::::E M:::::M             M:::::M RR::::R      R::::R
EEEEEEEEEEEEEEEEEEEE MMMMMMM             MMMMMMM RRRRRRR      RRRRRR

[hadoop@ip-XXX ~]$
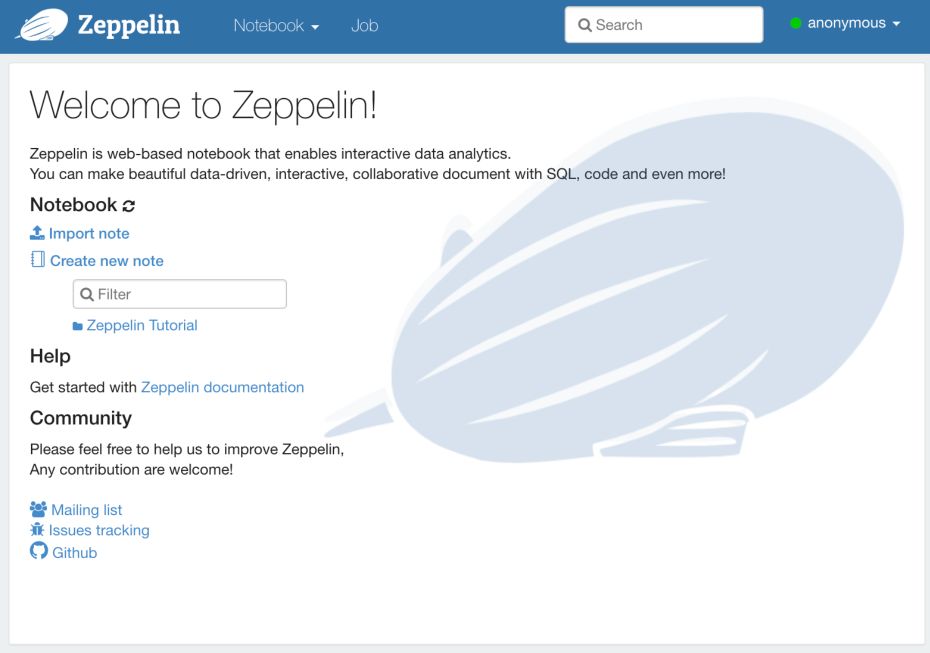
Thanks to the redirection we previously established, you should be able to simply connect to Zeppelin from your local host : http://localhost:8891/#/ )
The port 8891 was chosen quite randomly since 8890 was already used by Jupyter Notebook on my computer.