

Previously, we covered the Elastic Cloud. This is a fully managed solution that may not fit all the needs. How can you run Elasticsearch locally? How can you launch Kibana? And how do you use Dev Tools? We’ll answer those questions here.
I. Install Elasticsearch
Download Elasticsearch through this link.
Download the version that matches your OS. I’m running on macOS, so the article might contain some commands specific to macOS.
Step 1 : Download and unzip Elasticsearch
Find the file in your downloads, move it to the folder in which you want to store it. On a mac, double-click on the file to unzip it.
*Step 2 *: In your terminal, go to the folder in question
cd elasticsearch-6.6.1/
(Depending on your version, this link might change)
*Step 3 *: Fire up the engines!
We’ll now start the elastic search server.
bin/elasticsearch
The bin directory will also be used to start Elasticsearch SQL CLI to interact with Elasticsearch using SQL statements for example.
Another important directory is the config one in which we can, for example, modify the default port for Elasticsearch (9200) in the elasticsearch.yaml file.
Elasticsearch is now up and running. Let’s download Kibana now!
II. Install Kibana
Kibana can be downloaded from the following link.
Download the file that matches your OS.
Step 1 : Download and unzip Kibana
Find the file in your downloads, move it to the folder in which you want to store it. On a mac, double-click on the file to unzip it.
*Step 2 *: Fire up Kibana
In your terminal, go to the folder that contains Kibana, and run this command.
bin/kibana
If you have not modified the default port of Kibana, everything should now work. You should see a log similar to this one :
log [17:49:10.844] [info][listening] Server running at http://localhost:5601
*Step 3 *: Open your browser
Now, head to the following link in your browser : http://localhost:5601.
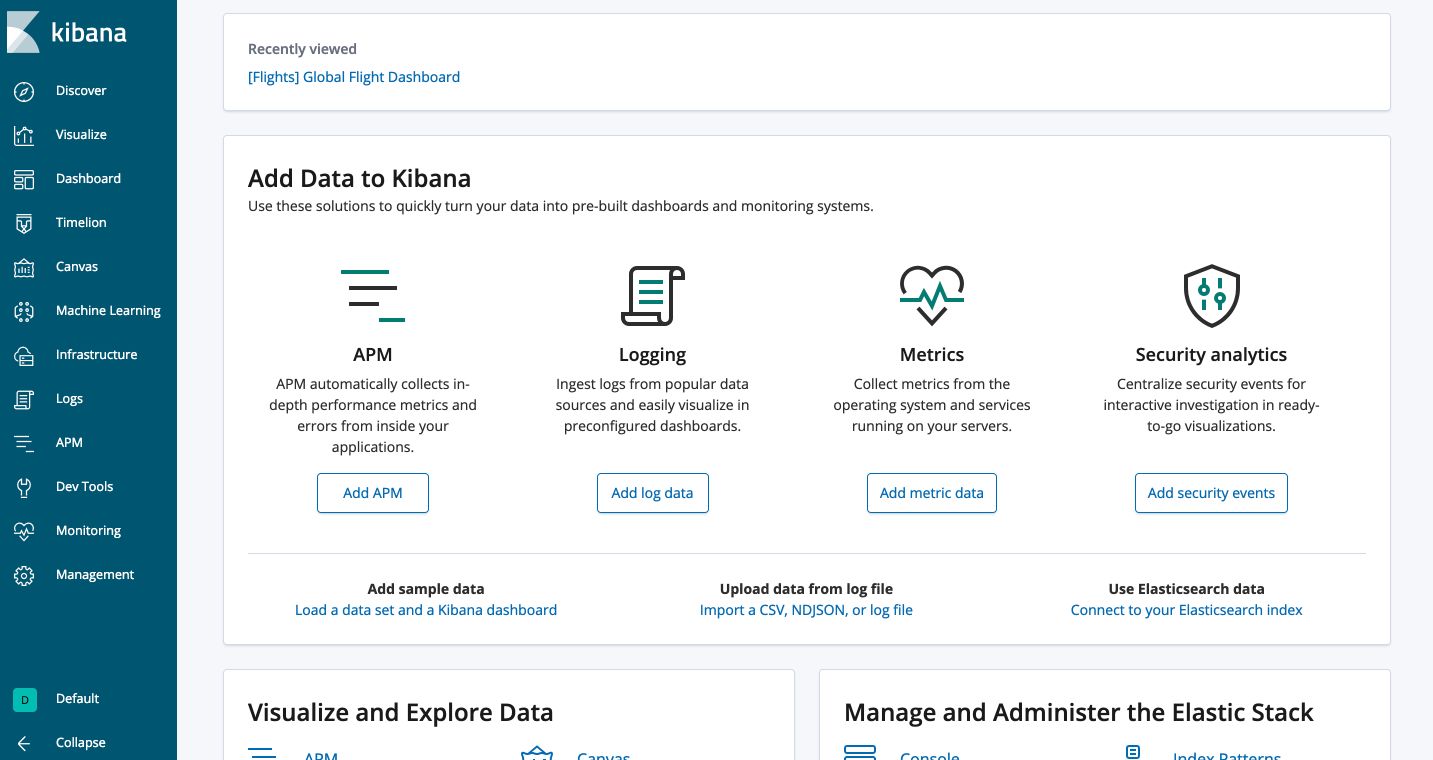
We now have both Kibana and Elasticsearch running!